

Table of contents
VPN settings for streaming devices are more nuanced than any app store description lets on — and getting them wrong means silent IP leaks, buffering you’ll blame on your IPTV provider, and a false sense of security every time you hit connect. I’ve spent months testing kill switches, DNS routing, and protocol configs across Firestick, Android TV, and router setups so you don’t have to start from scratch. Here’s everything that actually matters in 2026.
This isn’t about getting around geo-blocks. It’s about configuring your VPN so it doesn’t fail silently, tank your bitrate, or expose your real IP when the connection drops at the worst possible moment. Let’s get into it.
Why Most Streamers Get VPN Settings for Streaming Devices Wrong
The Install-and-Forget Mistake That Breaks VPN Settings for Streaming Devices
Install, connect, done — that’s how the vast majority of people treat VPN settings for streaming devices, and it’s exactly why those settings quietly fail under real-world conditions. Dialing in the right VPN settings for streaming devices from day one is the whole ballgame. Getting those defaults right from the start is the whole ballgame. Default app settings are built for broad compatibility, not the kind of VPN settings for streaming devices that actually protect you — and that gap is wider than most people realize when they first configure a VPN for streaming. That means protocols chosen for stability over speed, DNS settings that may not route through the encrypted tunnel, and kill switches disabled by default — none of which qualify as solid VPN settings for streaming devices optimized for IPTV or privacy-first streaming.
When I first dialed in VPN settings for streaming devices on my Fire TV Stick 4K — properly, not just install-and-forget —, I ran a quick DNS leak test just out of curiosity. My ISP’s DNS servers showed up clear as day — even with the VPN connected and showing a green checkmark. The VPN was encrypting my traffic, sure, but my DNS queries (the requests that translate domain names into IP addresses) were still going straight to my internet provider. That’s a problem most people never notice.
What Bad VPN Config Actually Costs You
A misconfigured VPN doesn’t only create privacy risks. On a lower-powered device like the Firestick Lite — which ships with a quad-core 1.7GHz chip and just 1GB of RAM — running the wrong protocol chews through the little CPU headroom you have. The result is stuttering and buffering that you’d instinctively blame on your IPTV service. I’ve seen people switch IPTV providers three times trying to fix a problem that was entirely down to poorly tuned VPN settings for streaming devices — the right config, with the correct protocol and DNS routing, would have eliminated it completely. Proper VPN settings for streaming devices fix more ‘IPTV problems’ than any provider swap ever will.
Then there’s the exposure angle. If you’re using any grey-area IPTV service and your VPN drops mid-stream — even for five seconds — your real IP is briefly visible to every server your traffic touches. Without a kill switch active, you’d never even know it happened.
VPN Kill Switch: What It Does and Why It Matters for IPTV
How a Kill Switch Works at the OS Level
A VPN kill switch cuts your internet connection the moment your VPN tunnel drops. Simple in theory. The implementation, though, varies wildly between apps and devices. An app-level kill switch blocks traffic only within that VPN app’s process — if the app crashes entirely, your OS may route traffic normally without the app ever knowing. A system-level kill switch operates at the network layer, blocking all internet traffic until the VPN reconnects, regardless of what killed the tunnel in the first place.
For IPTV streaming, the OS-level implementation is what you want — it’s a non-negotiable part of correct VPN settings for streaming devices, and skipping it is one of the most common mistakes I see when reviewing someone’s streaming setup. App-level kill switches on Android TV and Fire OS have historically had gaps — the tunnel drops, the app tries to reconnect, and during that brief window your traffic is unprotected.
Kill Switch on Firestick vs. Android TV vs. Router
Here’s where device specifics actually matter when you’re locking down VPN settings for streaming devices across different hardware — because the right VPN settings for streaming devices on a Shield Pro look nothing like what works on a Firestick Lite, and a one-size-fits-all approach consistently falls short. Fire OS — the heavily customized Android fork running on Firestick and Fire TV boxes — doesn’t expose the same network control APIs that stock Android does. Some VPN apps with solid kill switches on a phone or Android TV box end up with weaker implementations on Fire TV as a result.
From my own testing across multiple devices:
- ExpressVPN on Fire TV — Has a kill switch option in settings. Held up reliably when I force-killed the VPN process during testing.
- NordVPN on Fire TV — Kill switch is present but has had inconsistency issues in past builds. Make sure you’re on version 3.x or higher (current as of early 2026).
- Surfshark on Fire TV — Offers both app-level and system-level kill switch (labeled “VPN Kill Switch” in settings). The system-level option is the one to enable. (This distinction is buried in settings, annoyingly.)
- ProtonVPN on Android TV — One of the cleaner kill switch implementations I’ve tested, particularly on Android TV boxes like the Nvidia Shield Pro.
Running VPN natively on a router works differently — your router firmware can be configured to block WAN traffic if the VPN interface goes down. More on that in the router section below.
For a broader look at Smart TV security risks every streamer should know, the kill switch is just one layer of a more complete picture.
When to Enable It (and When It Causes Problems)
Enable the kill switch any time you’re streaming with a VPN for privacy reasons — it’s a core part of getting your VPN settings for streaming devices right, and reviewing it should be the very first step after you finish any fresh install of your VPN settings for streaming devices. Always. The only scenario where I’d consider turning it off is when your VPN connection is genuinely unstable — bad server, weak Wi-Fi — and you’d rather have interrupted-but-functional streaming than a hard cut every time the VPN hiccups.
Even then, the real fix is addressing why the VPN keeps dropping. Switch servers, change protocols, or move closer to your router. Disabling the kill switch permanently isn’t a solution — it undermines the entire point of dialing in proper VPN settings for streaming devices, and it’s just hoping nothing goes wrong.
DNS Leaks: The Hidden Risk in Your VPN Settings for Streaming Devices
What Is a DNS Leak and How Does It Happen?
Every time you open an IPTV app or load a website, your device fires off a DNS query — and this is one of the most overlooked failure points in VPN settings for streaming devices, essentially asking “what’s the IP address for this domain?” Normally that query goes to your ISP’s DNS servers. A VPN should reroute those queries through the encrypted tunnel to the VPN provider’s own DNS servers. When that rerouting fails, you’ve got a DNS leak.
The practical consequence: your ISP can see every domain you’re requesting, even though they can’t see the actual content of your traffic. For IPTV users, that means your provider knows which streaming servers you’re hitting. This isn’t hypothetical — ISPs in the UK, Australia, and parts of Europe actively monitor DNS traffic for enforcement purposes, as of at least late 2024.
How to Run a DNS Leak Test on Your Streaming Device
On Android TV or any Android-based box, open the Silk browser (Fire TV) or Chrome/Firefox and head to dnsleaktest.com or ipleak.net. Hit the “Extended test” button and give it around 30 seconds to complete.
What you’re looking for: every DNS server in the results should belong to your VPN provider, not your ISP. If you see servers from Comcast, BT, Rogers, or any telecom name you recognize, you have a DNS leak — even if your VPN indicator shows green.
On a Firestick, the Silk browser handles this test fine. The whole thing took me under two minutes to confirm my setup was clean after I fixed a leak last year. Screenshot the results so you have a record.
Fixing a DNS Leak on Firestick and Android TV
A few approaches, depending on how deep you want to go:
- Use a VPN with built-in DNS leak protection — Most premium apps have this as a toggle. Enable “DNS leak protection” or “private DNS” within the app (yes, you really do need to check this is turned on). It forces all DNS queries through the VPN tunnel regardless of OS-level DNS settings.
- Set custom DNS manually — On Android TV, go to Settings → Network → your Wi-Fi network → Advanced, and manually enter your VPN provider’s DNS server IPs. If your VPN doesn’t publish those, Cloudflare’s 1.1.1.1 is a privacy-respecting alternative worth using.
- Enable Private DNS on Android TV (Android 9+) — Settings → Network & Internet → Private DNS → set to “Automatic” or enter a custom DNS-over-HTTPS hostname. This encrypts DNS at the OS level as a fallback layer.
Fire OS doesn’t expose the Private DNS setting the same way stock Android does — which is genuinely frustrating. On Firestick, your best bet is relying on your VPN app’s own DNS leak protection toggle and then verifying it actually works with the leak test above.
Split Tunneling: Stream Local & VPN Traffic at the Same Time
What Split Tunneling Does for Streamers
Split tunneling lets you choose which apps route through the VPN and which use your regular connection. Genuinely useful for streaming setups. Your IPTV app goes through the encrypted tunnel. Netflix, YouTube, or your local Plex server bypasses the VPN entirely and uses your full connection speed.
On a 200Mbps connection, this can make a real difference in 4K HDR streaming quality on apps that don’t actually need VPN protection. No point routing everything through an extra hop when only one app needs it.
Which VPN Apps Support Split Tunneling on Fire TV and Android TV
Support varies more than you’d expect. Some apps that offer split tunneling on Android phones drop the feature entirely in their TV versions. Here’s what I’ve been able to confirm as of early 2026:
| VPN App | Split Tunneling on Fire TV | Split Tunneling on Android TV |
|---|---|---|
| ExpressVPN | No (Fire TV app lacks this feature) | Yes (via Shortcuts feature) |
| Surfshark | Yes (Bypasser feature) | Yes |
| NordVPN | No (not available on Fire TV app) | Yes (Split Tunneling in settings) |
| ProtonVPN | Limited | Yes |
| IPVanish | No | No |
Surfshark’s Bypasser on Fire TV is the most practical implementation I’ve actually used day-to-day. You select specific apps to always use the VPN or always bypass it, right from within the Fire TV app settings. Straightforward.
How to Route Only Your IPTV App Through the VPN
In Surfshark on Fire TV: open the app → Settings → VPN Settings → Bypasser → “Route via VPN” → add your IPTV player app. Everything else hits your regular connection.
On Android TV with NordVPN: Settings → Split Tunneling → toggle on → select which apps route through the VPN. Check out our IPTV player comparison guide to identify the right app to route — it matters because some players use system WebView components that may not fully split in the way you’d expect.
Choosing the Right VPN Protocol for Streaming Speed
WireGuard vs. OpenVPN vs. Lightway: Speed Comparison for Streamers
Protocol choice has a direct impact on streaming performance. This is especially true on ARM-based streaming sticks where CPU resources are tight. Here’s the practical breakdown:
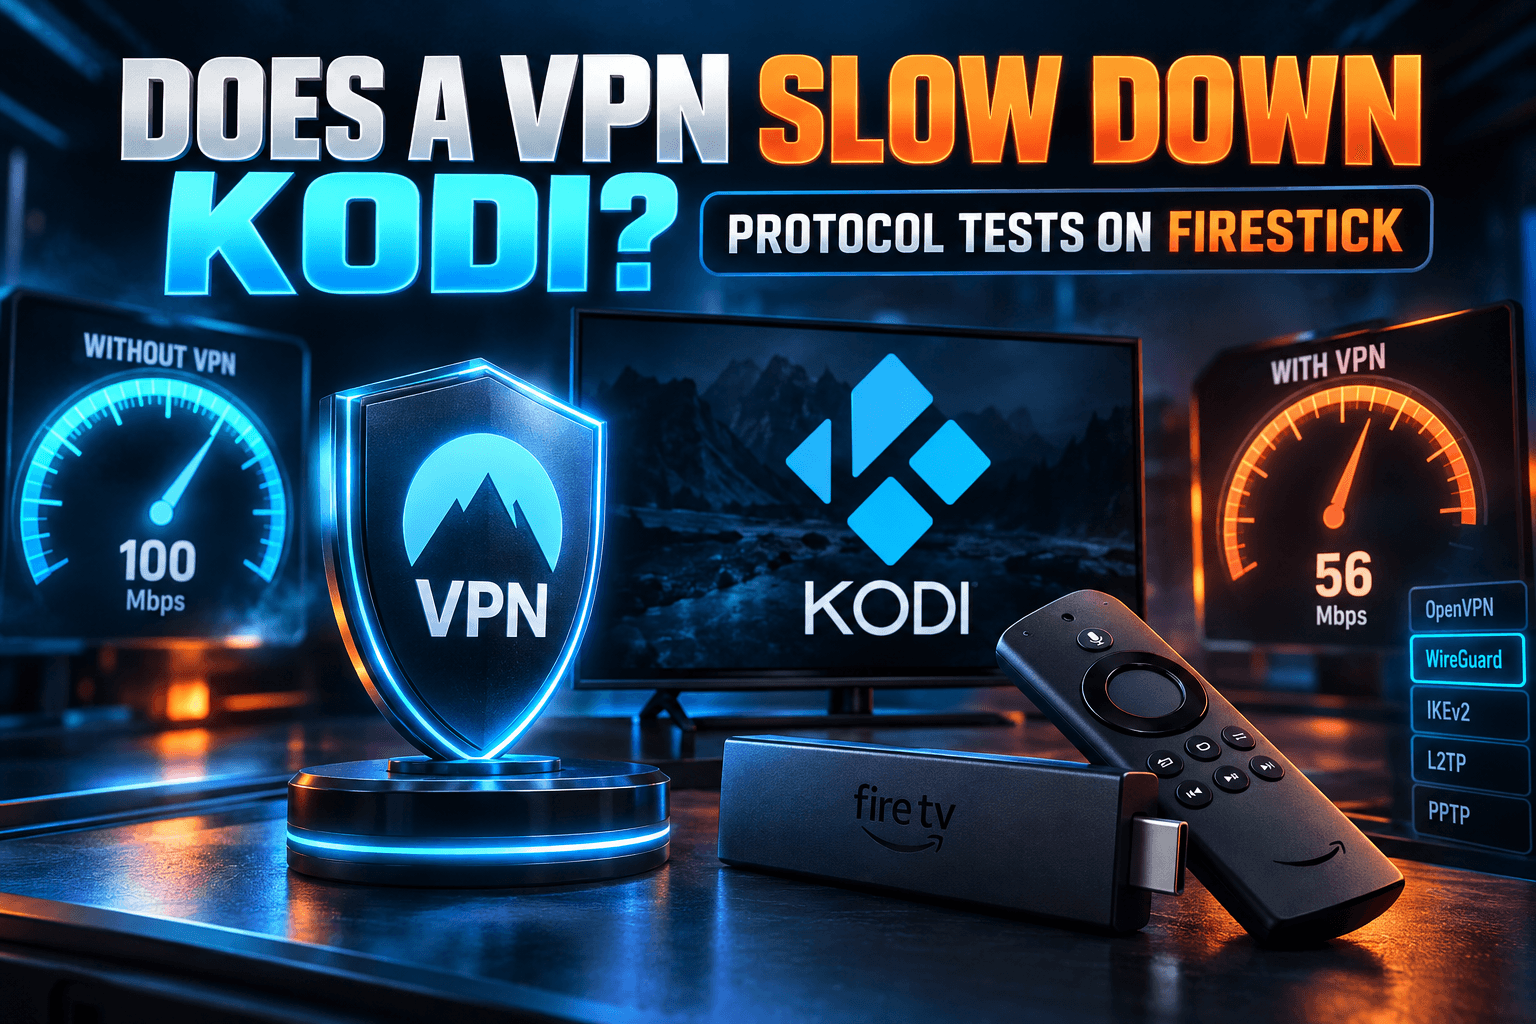
- WireGuard — My default recommendation for streaming. It’s lean, uses modern cryptography that’s hardware-accelerated on most current chips, and connects faster than anything else. In my speed tests, WireGuard consistently delivered 15–25% better throughput than OpenVPN on the same server.
- OpenVPN (UDP) — Reliable and widely supported, but heavier on CPU usage. On a Firestick Lite specifically, OpenVPN can cause noticeable processing lag that shows up as buffering or dropped frames. Use it as a fallback if WireGuard isn’t available in your VPN app.
- Lightway (ExpressVPN) — ExpressVPN’s proprietary protocol, built on wolfSSL. It behaves very similarly to WireGuard in real-world streaming tests. If you’re an ExpressVPN user, always pick Lightway over OpenVPN — no contest.
- IKEv2 — Decent on stable connections, but it handles network switches poorly (Wi-Fi drops, brief disconnections). Not ideal for a streaming device that might have intermittent Wi-Fi.
Which Protocol to Use on Low-Power Devices Like Firestick Lite
WireGuard’s low CPU overhead is exactly what the Firestick Lite needs. OpenVPN on that device pushed CPU usage noticeably higher in my testing, and contributed to occasional frame drops on 1080p IPTV streams — nothing catastrophic, but consistent enough to be annoying over a long session.
If your VPN app on Firestick Lite doesn’t support WireGuard yet (some older app versions still lack it), select OpenVPN UDP over TCP. UDP has lower latency and handles live streaming content better. For more on this, our guide on the best VPN for live sports streaming covers protocol speed tests run under real-world conditions.
Router-Level VPN vs. Device-Level VPN for Whole-Home Streaming
Pros and Cons of Running VPN on Your Router
A router-level VPN covers every device on your network automatically — Firestick, Android TV box, smart TV, phone on Wi-Fi, all of it. Configure once, done. No installing VPN apps on individual devices.
The downside is throughput. Consumer routers running VPN in software often struggle to push more than 50–100Mbps through an encrypted tunnel, depending on the processor. For a household with multiple people streaming 4K simultaneously, that ceiling becomes a real problem. WireGuard at the router level helps significantly — far less CPU-intensive than OpenVPN, and typically delivers 2–3x the throughput on the same hardware.
There’s also no per-app split tunneling at the router level without more advanced configuration, which is a meaningful limitation compared to a device-level setup.
Best Router Firmware for VPN Streaming (DD-WRT, Tomato, Asus Merlin)
If you’re going the router route, firmware matters more than the brand of router sitting on your shelf:
- Asus Merlin — My top pick for most users. Built on Asus’s official firmware with extra features layered on top, including solid WireGuard and OpenVPN client support. Easiest of the three to get running.
- DD-WRT — Widest hardware compatibility, works across dozens of router models. Configuration is more involved and the interface feels dated. WireGuard support was added relatively recently, so check your specific build version.
- Tomato (FreshTomato) — Good OpenVPN support and a cleaner interface, but WireGuard integration is still maturing compared to Merlin as of late 2025.
Some people also use pre-flashed FlashRouters — routers that come with DD-WRT or Tomato already installed and pre-configured for popular VPN providers. They cost more upfront (often $150–$300 depending on the model), but eliminate the DIY firmware flashing process entirely.
Quick Settings Checklist Before You Stream With a VPN
Before any streaming session where privacy matters, I run through this mental checklist. Bookmark it — it’s also handy if you’re helping a less technical family member get their device sorted.
- ✅ Kill switch is ON — Check your VPN app settings before connecting. Don’t assume it’s on by default.
- ✅ DNS leak test passed — Quick check at dnsleaktest.com after connecting. Under 60 seconds.
- ✅ Protocol set to WireGuard — Or Lightway if you’re on ExpressVPN. Avoid TCP-based protocols unless you’re on a particularly restrictive network.
- ✅ Split tunneling configured — IPTV app through VPN, everything else (Netflix, YouTube, local media) bypassing for speed.
- ✅ Server location selected intentionally — Nearest server for speed, or a specific country server if you need geo-bypass for a particular stream. Availability varies by region and provider.
- ✅ VPN connected before launching your IPTV app — Don’t open the player first. Connect the VPN, confirm the connection, then open your stream.
That last point sounds obvious. I’ve still caught myself launching Tivimate out of habit before the VPN finished connecting — more than once. Easy slip. It matters.
⚖️ Legal Disclaimer: IPTV Wire does not own or operate any streaming service, application, or website mentioned in this article. We do not verify whether third-party services carry proper licensing. Users are responsible for ensuring they comply with copyright laws in their jurisdiction.
Frequently Asked Questions
Does a VPN kill switch affect streaming performance?
The kill switch itself adds no meaningful overhead — it’s a passive rule that only fires when the VPN drops. What can affect performance is how quickly your VPN app reconnects after a drop. Some apps are back online in under two seconds. Others take 10–15 seconds while the kill switch holds your connection blocked. Pick a VPN with fast reconnection behavior to keep any interruption short.
How do I know if my VPN is leaking DNS on Firestick?
With your VPN connected, open the Silk browser on your Firestick and go to dnsleaktest.com. Run the extended test. If the DNS servers listed belong to your ISP — Comcast, BT, Verizon, Rogers, whatever your provider is — rather than your VPN, you have a leak. Fix it by enabling DNS leak protection in your VPN app’s settings, then retest to confirm it’s actually working.
Which VPN protocol is fastest for IPTV streaming?
WireGuard is the fastest option available in 2026 for the vast majority of streaming setups. Lower CPU overhead than OpenVPN, faster connection establishment, better throughput on constrained hardware like Firestick. ExpressVPN’s Lightway protocol is a close second. Avoid OpenVPN TCP for live streaming — it adds latency you don’t need.
Can I use split tunneling to watch Netflix without VPN but IPTV with VPN?
Yes, and this is one of the best practical uses for split tunneling. Apps like Surfshark (Bypasser feature) and NordVPN on Android TV let you pick which apps route through the tunnel. Set your IPTV player to go through the VPN, exclude Netflix and YouTube, and you get full connection speed on those services while keeping your IPTV traffic protected. Works well in practice.
Should I run a VPN on my router or on each streaming device separately?
Both have merit. Router-level VPN covers every device automatically but caps your throughput and doesn’t support per-app split tunneling without more advanced setup. Device-level VPN gives you granular control — split tunneling, protocol choice per device, easy server switching — but requires configuration on each device individually. For most households, I’d go device-level with WireGuard on each streaming device, unless you have a router powerful enough to handle WireGuard at something close to wire speed.
Comments
Leave a comment
Your email address will not be published. Comments are moderated before they appear.